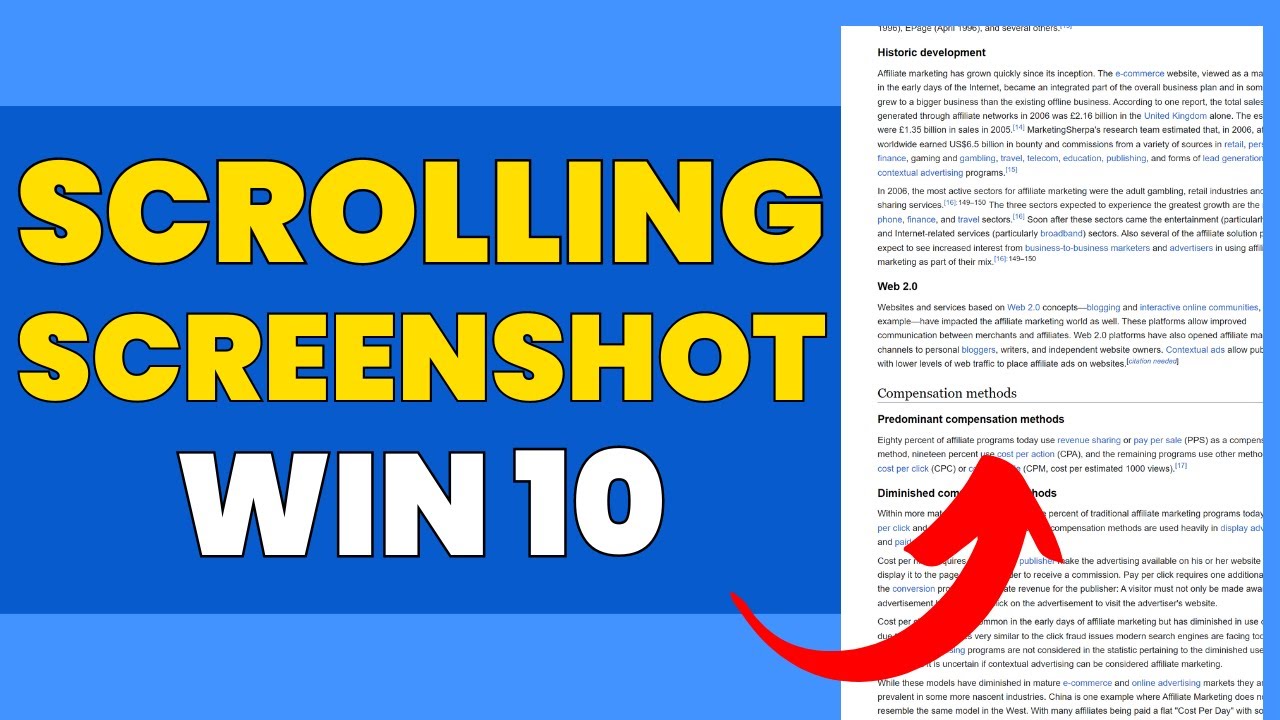
Taking a screenshot of a long webpage doesn’t need to be hard. Do you end up with many images? Is it a pain to put them together? What if you could grab the whole page at once, even what you can’t see?
Table of Contents
This guide will show you a simple way to take a long screenshot on your Windows 10/11 PC. You won’t need extra apps. Use Chrome to save webpages as one image!

Ready to make screenshots easier? Let’s get started!
Why Take a Scrolling Screenshot?
Scrolling screenshots are super useful! They help in several ways. They’re great for anyone who needs to save a lot of information.
Capturing Complete Webpages
Scrolling screenshots let you grab entire articles. You can capture long documents, or social media feeds. Forget about what you can and cannot see on the screen.
Streamlining Information Sharing
It’s easier to share one long image than many small ones. A single scrolling screenshot is simpler to keep too. This makes sharing info a breeze.
Preserving Webpage Layout
These screenshots keep the webpage looking the same. This is important for saving documents or checking facts. You get an exact copy of the page.
The Secret: Chrome’s Built-in Tool
Chrome has a hidden feature: “Capture full size screenshot”. It’s in the Inspect tool. Many people don’t know about this trick.
Accessing the Inspect Tool
To open Inspect, right-click on a webpage. Then, click “Inspect.” Or, press Ctrl+Shift+I or F12. It’s that easy!
Enabling Device Toolbar
The Device Toolbar lets you change the screen size. This tool helps you see how websites look on phones or tablets. Turn it on or off in the Inspect tool.
Step-by-Step Guide to Capturing Your Scrolling Screenshot
Here’s how to take that long screenshot. Follow these simple steps. You’ll be a pro in no time.
Step 1: Open Chrome and Navigate to the Webpage
First, open the webpage you want to save in Chrome. This is important for the next steps. Make sure it’s the right page.
Step 2: Scroll Through the Entire Page
Scroll all the way down the page. This makes sure everything loads. If you don’t, parts of the screenshot might be missing.
Step 3: Open the Inspect Tool
Right-click and select “Inspect” again. Or, use Ctrl+Shift+I or F12. The Inspect tool will pop up.
Step 4: Toggle Device Toolbar
Turn on the Device Toolbar. Find the icon that looks like a phone and tablet. Click it to turn the toolbar on.
Step 5: Capture Full Size Screenshot
Click the three dots in the Device Toolbar. Then, click “Capture full size screenshot.” Chrome will download the image.
Step 6: Locate and Open the Downloaded Image
The screenshot saves automatically. Look in your Downloads folder. Open the image to see the whole scrolling screenshot.
Troubleshooting Common Issues
Sometimes, things go wrong. Here’s how to fix common problems. These tips will help you get it right.
Incomplete Screenshot
Did you get only part of the page? Make sure you scroll all the way down first. This loads all the content.
Screenshot is Too Large
Big screenshot file? Try compressing it. You could also save it as a JPG instead of a PNG. This makes the file smaller.
Feature Not Available
Can’t find “Capture full size screenshot”? Update Chrome to the newest version. Older versions might not have it.
Beyond Chrome: Alternative Methods
Other ways exist to take scrolling screenshots. But Chrome’s tool is often easiest. It’s built right in.
Third-Party Screenshot Tools
Tools like PicPick, Snagit, or ShareX can do it. They have extra features. However, they might cost money, and you need to install them.
Browser Extensions
Extensions like GoFullPage or Full Page Screen Capture work well. They’re simple, but think about privacy. Some extensions might collect your data.
Conclusion
Taking scrolling screenshots in Windows 10/11 is simple. Use Chrome’s tool to grab entire webpages as one image. This saves time and makes sharing easy. Next time you need a long screenshot, use this guide!
Checkout below video for step by step instructions:

